How to host a Static Website in AWS S3
Hello All! Welcome back to the third article in the AWS Series! As we already know, AWS S3 offers low cost, high performance, highly scalable, unlimited cloud storage with a pay-as-you-go approach. But, apart from being a storage option, it can also be used to host static web content. In this article, we will discuss how to host a static website in AWS S3.
Below is the overview of the steps for doing that:
- Creating a bucket
- Enabling static website hosting
- Setting permissions using bucket policy
- Testing the static website
- Conclusion
Creating a bucket
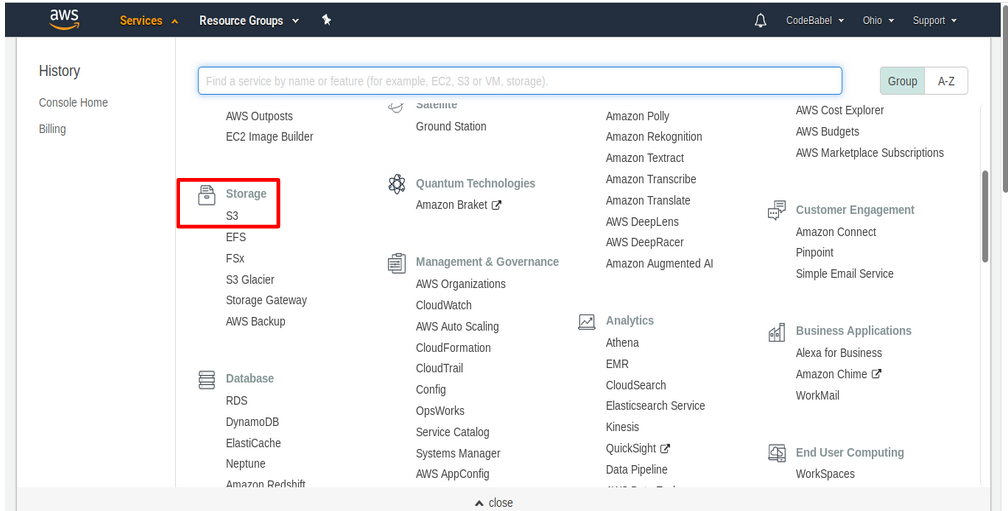
Step1: First let’s create a bucket. For that, let’s first login to AWS console, and then select ‘S3’ under ‘Storage’ from the AWS ‘Console Home’.
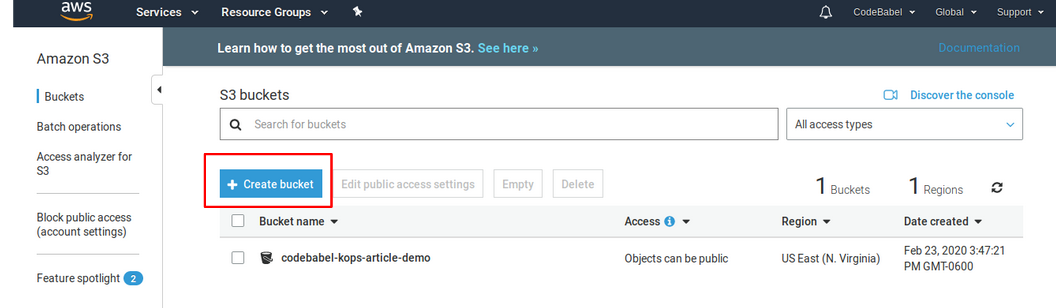
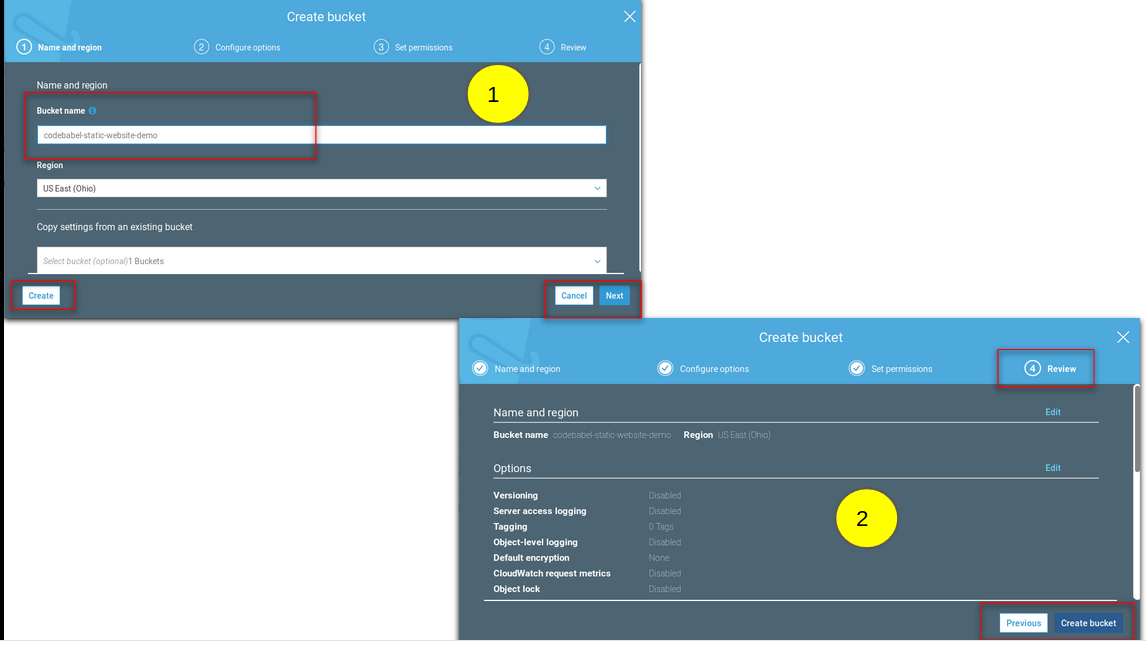
Step2: Next, from the S3 console, let’s click on the ‘Create Bucket’ icon in the Amazon S3 console.
A pop up window appears wherein we enter the bucket details. Here, let’s consider the bucket name as ‘codebabel-static-website-demo’ and the region can be according to the requirement. Here we have chosen the default region ‘US EAST ohio’. Let’s leave everything to default settings by clicking on “Next” option. In the ‘review’ page, let’s review our configurations and click on ‘Create bucket’ to create the S3 bucket.
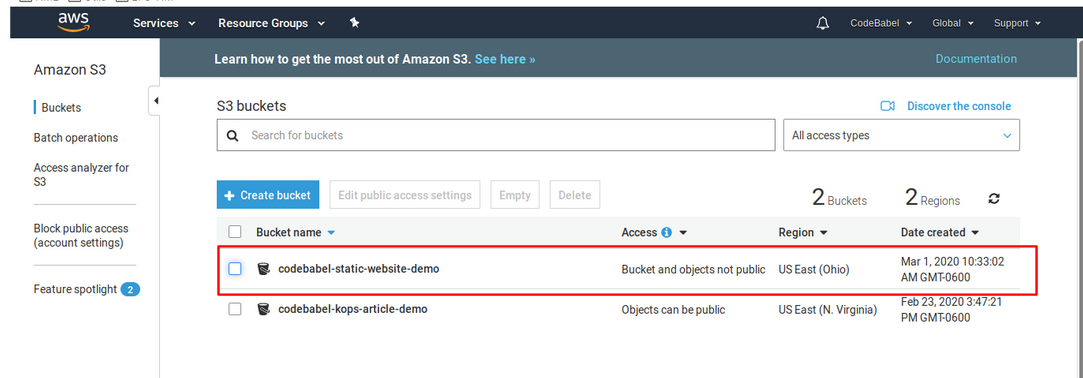
We can see the newly created S3 bucket in the AWS S3 console.
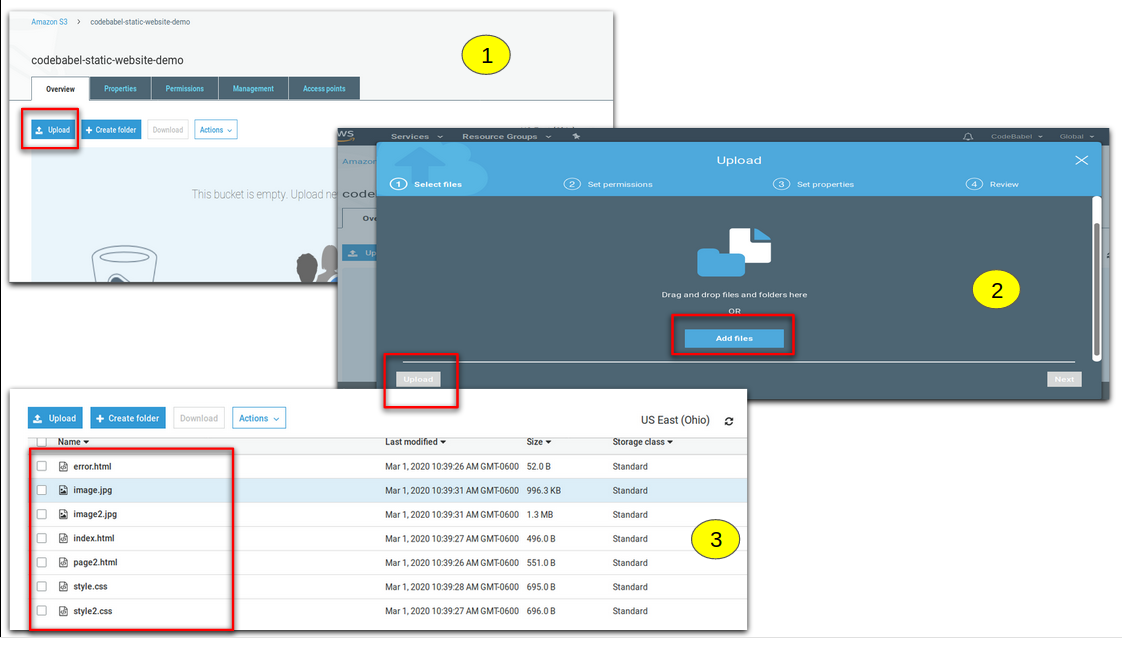
Step3: For this demo, we have created a simple static website in HTML. It consists of an index.html file which has two web pages and an error.html file which throws an error message when something goes wrong. We also have some .css files for formatting. Now let’s upload these files in the AWS S3 demo bucket.
For this, let’s click on our S3 bucket and click on the “upload” option under the “overview” icon. We can either add or drag and drop the required files. We can also set permissions for each of the files while uploading by clicking the “Next” icon which we will discuss later in this article. For now, we will only upload the files by clicking “Upload“. Let’s upload all our files this way.
Enabling static website hosting
Step4: Let’s click on our S3 bucket, and go to Properties -> Static website hosting.
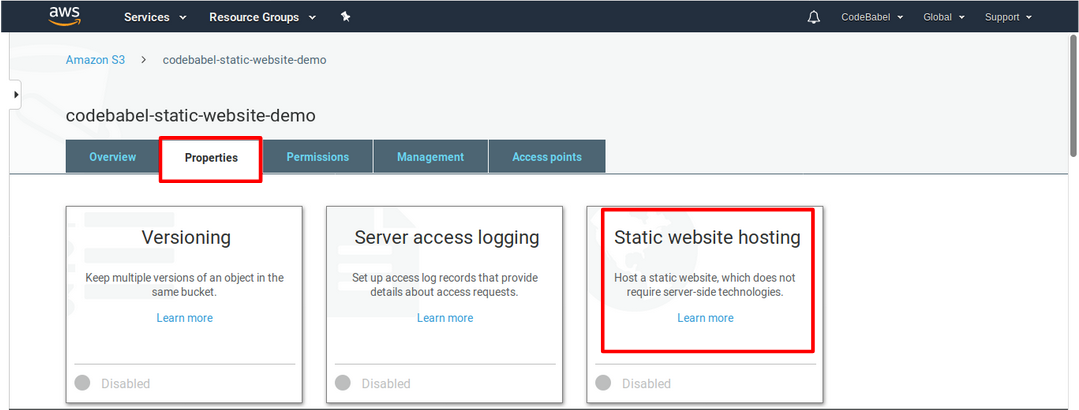
We can see the generated endpoint URL to access our static website, as soon as we select this option. Now below that, we will mention the following: “Index document = index.html, error document = error.html“.

Finally, let’s click on “Save” to save our configurations.
Setting permissions using bucket policy
Step5: The endpoint URL is: http://codebabel-static-website-demo.s3-website.us-east-2.amazonaws.com. Now, when we try to access the Static website using the generated endpoint URL, we will get access denied error.
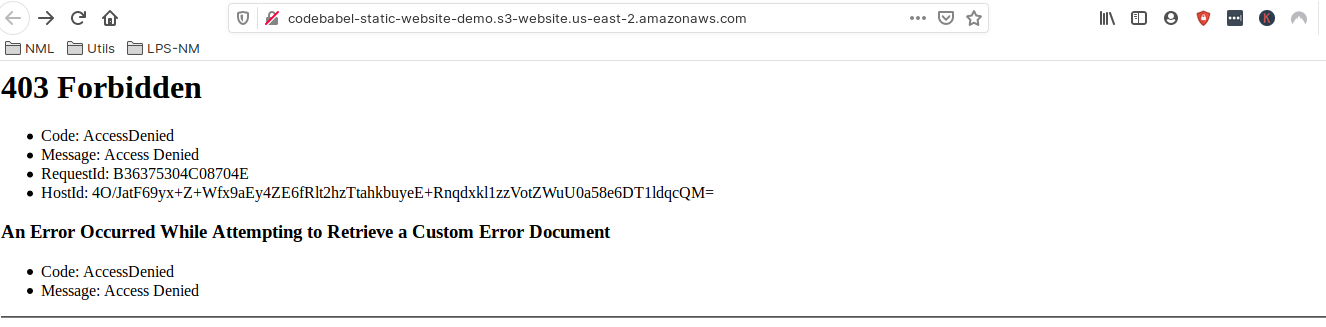
This is because, AWS by default, blocks public access to all the files that we upload in S3 bucket. It is a security feature in AWS. So in order to access our website, we have two options:
- Make all the files public individually by clicking on the file, and changing its permissions to public under “Set permissions” tab
- By applying policies to the bucket to give public access to the files in a single shot.
Let’s use the second option for obvious reasons. 🙂
Step6: For applying permissions, let’s click on our bucket, go to “Permissions” tab and click on “Bucket policy” option and copy paste the following in the policy editor and click on “Save”.
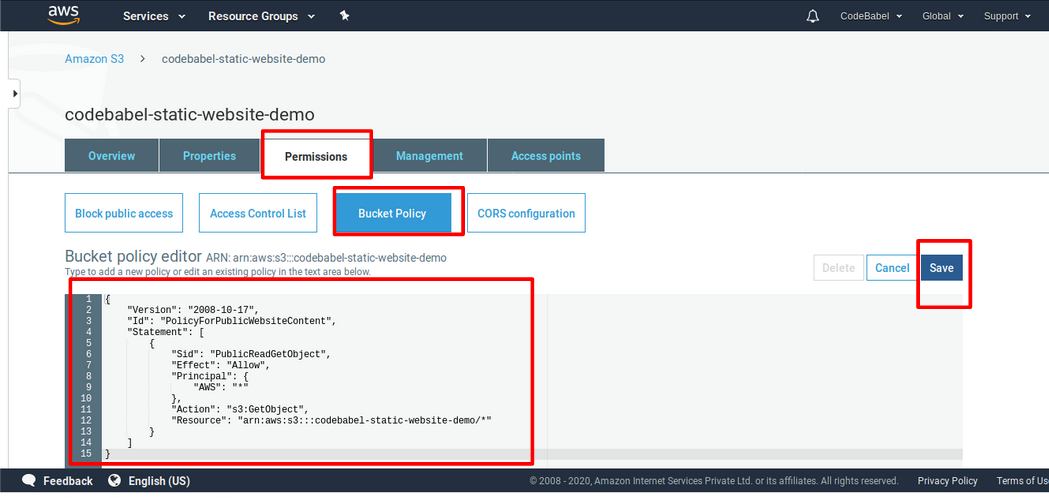
The code can be copy pasted from below. We can also use policy generator provided by AWS to generate different policies based on our requirements. You can refer the documentation for generating policies here.
{
    "Version": "2008-10-17",
    "Id": "PolicyForPublicWebsiteContent",
    "Statement": [
        {
            "Sid": "PublicReadGetObject",
            "Effect": "Allow",
            "Principal": {
                "AWS": "*"
            },
            "Action": "s3:GetObject",
            "Resource": "arn:aws:s3:::codebabel-static-website-demo/*"
        }
    ]
}
Testing the static website
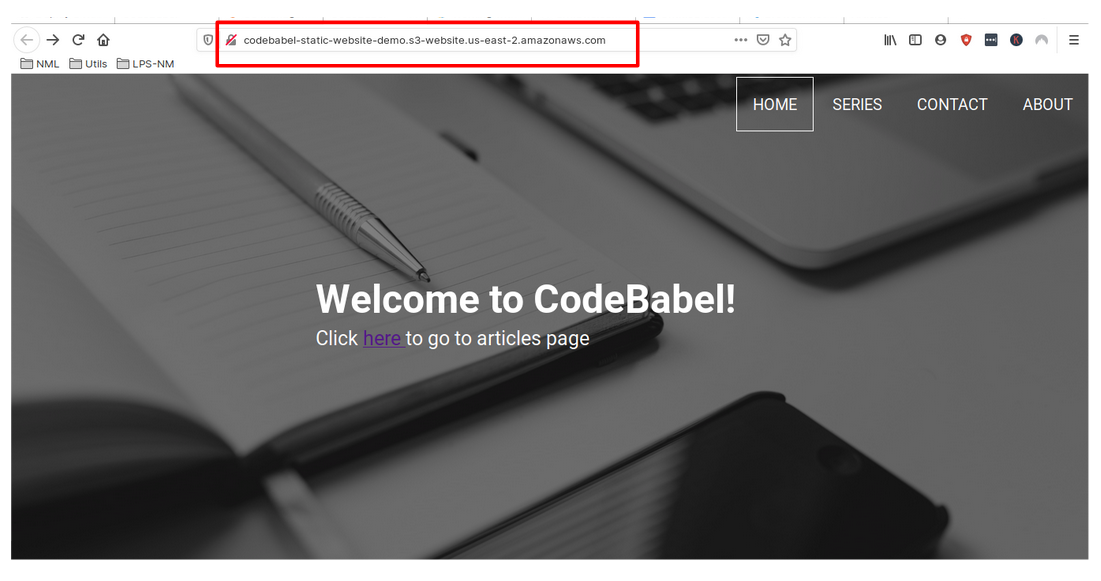
Step7: Now that everything is done, let’s test our website. Let’s enter the endpoint URL. And there we go! We can see the home page of our static website.
We are able to navigate to the second page as well.

Yup! It’s that easy to host a static webpage in S3 🙂
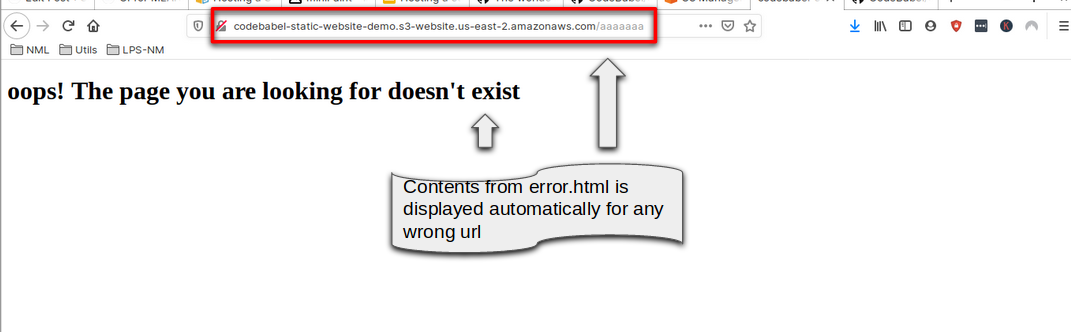
When something goes wrong while accessing this endpoint URL, AWS S3 automatically should use the html file that the user mentions in the error document field to throw an error message (In our case that is the error.html file) Now, let’s test if that works as expected as well. For this, let’s type in some random letters in the endpoint URL and when we click enter, we can see that the contents in the error.html file is displayed automatically.
Conclusion
We have now reached the end of the article. We hope this article was informative on how to host a static website in AWS S3. You can also find more information about hosting static websites in AWS S3 here. You can also find the code used for creating the static website used in this demo here.
Please share your thoughts, questions, and suggestions in the comment section below. Do subscribe to our blog to stay up to date on any new articles.