
CI for MEAN Stack Application Using Codeship
MEAN stack applications are growing in popularity amongst developers as it lets you develop an end to end application just using JavaScript. More developers adopting to MEAN also means more need for good CI/CD implementation for them. Because the faster the application is developed it must also be delivered to the customers quickly. This will be a two-part article. In part one, we will be covering the CI implementation for MEAN Stack application. The next article will cover CD implementation. We will be using Codeship for CI and Heroku will be the target platform for our application.
Before we go into the article, let’s look at what is MEAN stack.
The term MEAN stack refers to a collection of JavaScript-based technologies used to develop web applications. M.E.A.N is an acronym for MongoDB, ExpressJS, AngularJS, and Node.JS.
Node.JS is a server-side JavaScript execution environment. It is an open-source, cross-platform JavaScript run-time environment. Also, it executes JavaScript code outside of a browser.
Express is a flexible Node.js web application framework that provides a robust set of features for web and mobile applications. Express.js basically helps to manage everything, from routes to handling requests and views.
AngularJS is a JavaScript-based open-source front-end web application framework mainly maintained by Google. It is actually a structural framework for dynamic web apps. It uses HTML as the template language.
MongoDB is an open-source document-based database management tool that stores data similar to JSON formats. It is very popular because of its high scalability and flexibility. Additionally, it is a distributed NoSQL database.
Below are the things we will discuss in this article:
Why Codeship?
Codeship supports Continuous Integration for apps built on popular technologies out of the box as well as for apps which requires a lot of customization. It has two offerings – Codeship Basic and Codeship Pro. Codeship is a very flexible and interactive tool for both beginners and pros. It comes with default integrations with deployment platforms such as Google AppEngine, Heroku, and AWS. Also, Codeship Pro offers native docker support. The documentation of Codeship is here. Below are the few features of Codeship:
- Run Automated Testing
- Parallel Testing
- Customizable Infrastructure
- Native Docker Support
- Deployment Pipeline Configuration
- Continuous Integration & Delivery as a Service
- Microservice System Testing
CI setup for MEAN Stack Application using Codeship
Now let’s work on implementing CI setup for a simple MEAN Stack application.
Setup Overview
Below is the block diagram of the setup flow.
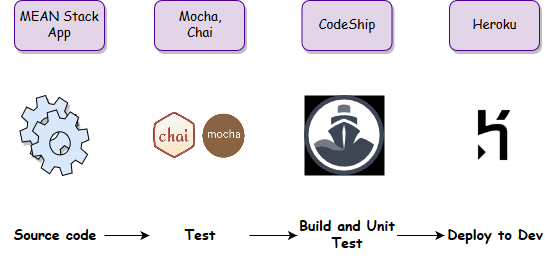
We are using GitHub as our SCM tool to host the source code and Unit tests. The unit test is written using Mocha and Chai.
Codeship will build the application, execute the unit tests and deploy to the lowermost environment, therefore resulting in Continuous Integration.
MEAN Stack Application Setup in GitHub
We have created a simple MEAN Stack application called “CodeBabel Dashboard”. This application will display the author names and also a small description of the authors. The application looks as below when deployed locally.
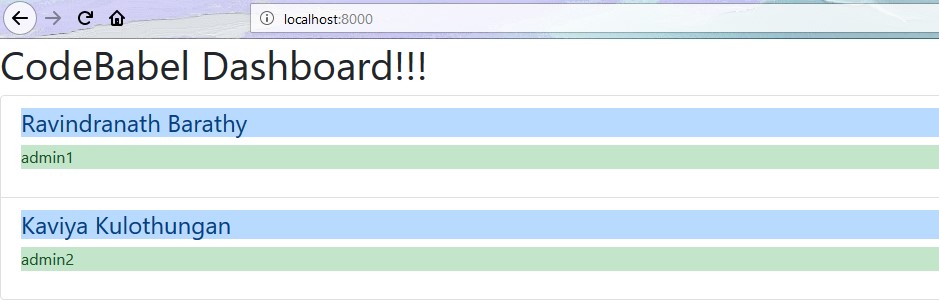
The source code is committed in GitHub under “master” branch.
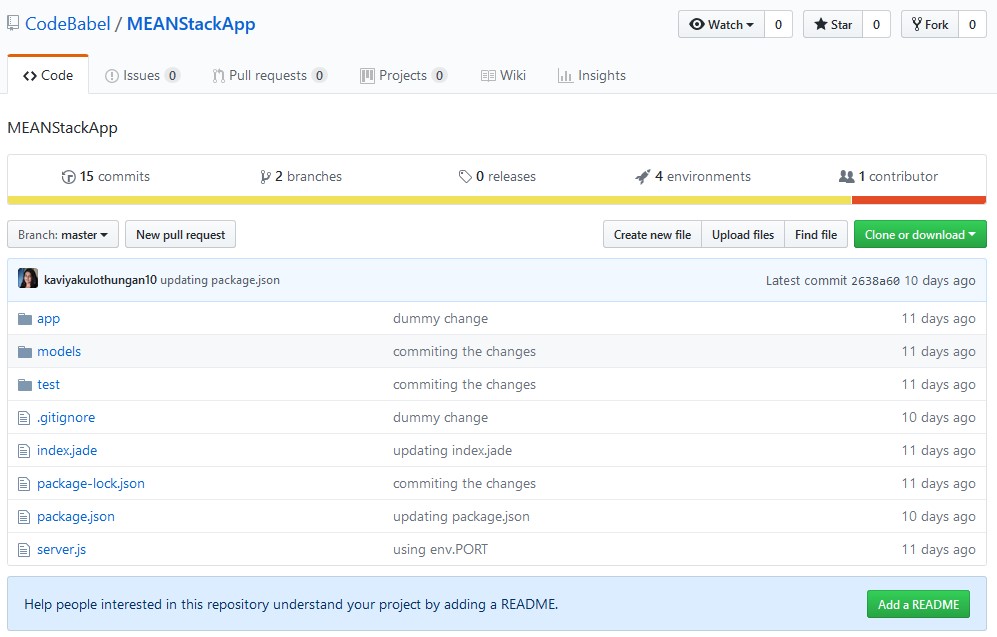
In addition, we have also written a simple unit test case which will check for empty contents in Database. It means that the unit test will fail if there are no contents in the database or if the application is unable to connect to the database. This simple test case is written using Mocha and Chai. It can be seen under the “test” folder.
The folder structure looks as below:
Building the app using Codeship
Now, let’s focus on implementing CI for this MEAN Stack App using Codeship.
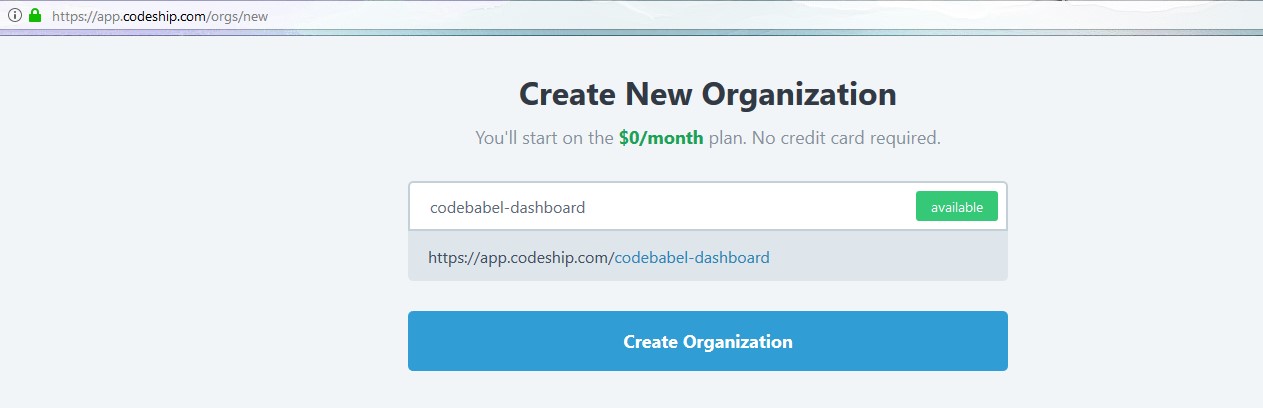
Let’s go to Codeship homepage. Firstly, we will create an organization with the name “codebabel-dashboard” and then click on ‘Create Organization’ icon as shown below:
Secondly, let’s create our first project. Here we will connect to our repository in GitHub and add the necessary build commands to configure this project. We will be using Codeship Basic for this demo. After that, we will select “node.js” as the technology type and click on ‘Save’.
Now let’s trigger our first build using a dummy commit. The build is automatically triggered as a result of the dummy commit in GitHub repository.
We can see that the first build is successful. Note that the unit test cases have not run because we have not yet configured it.
Unit Testing using Codeship
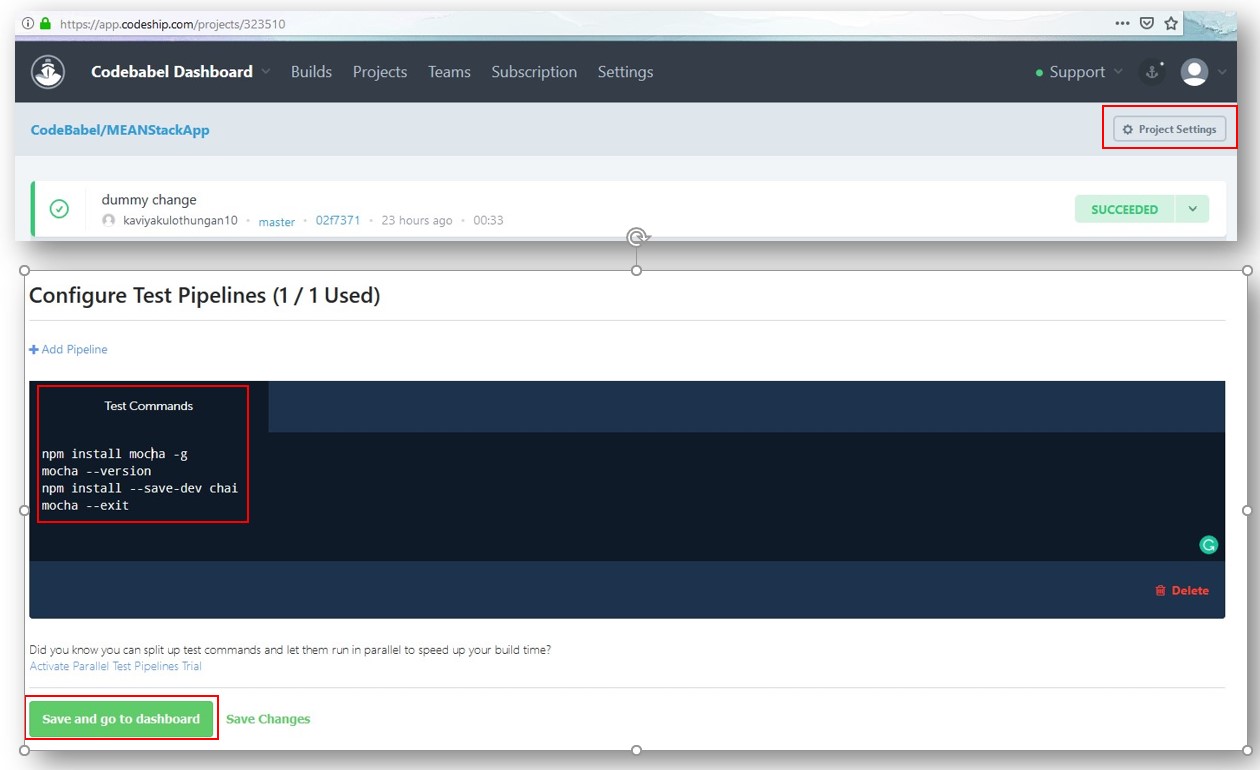
Let’s configure unit testing now. For this, click on “Project Settings” and add our unit test commands to execute under “Configure Test Pipelines” section in the “Test commands” field. Finally, let’s save the project.
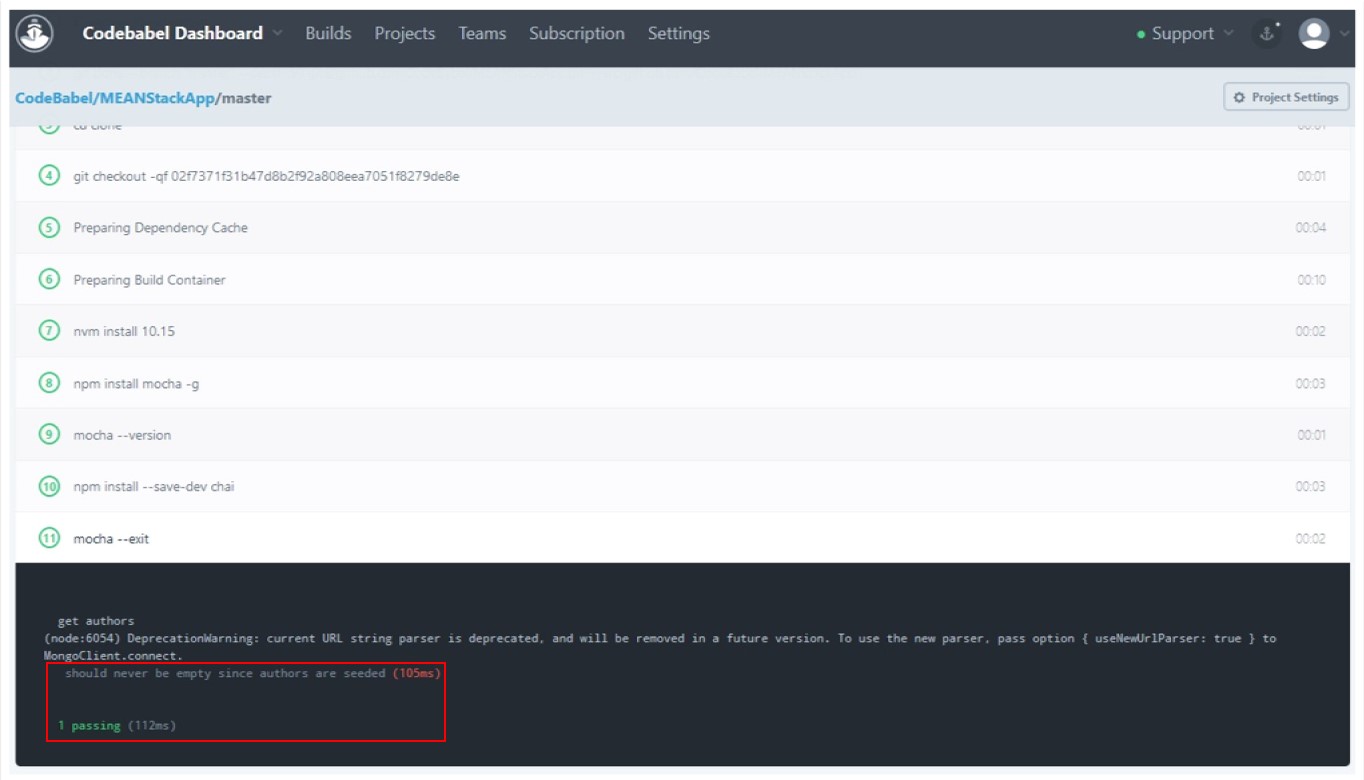
We can see the unit test is running successfully and the test cases passing when we click on “Restart Build” in the project as shown in the images below:

The log of this successful build is below:
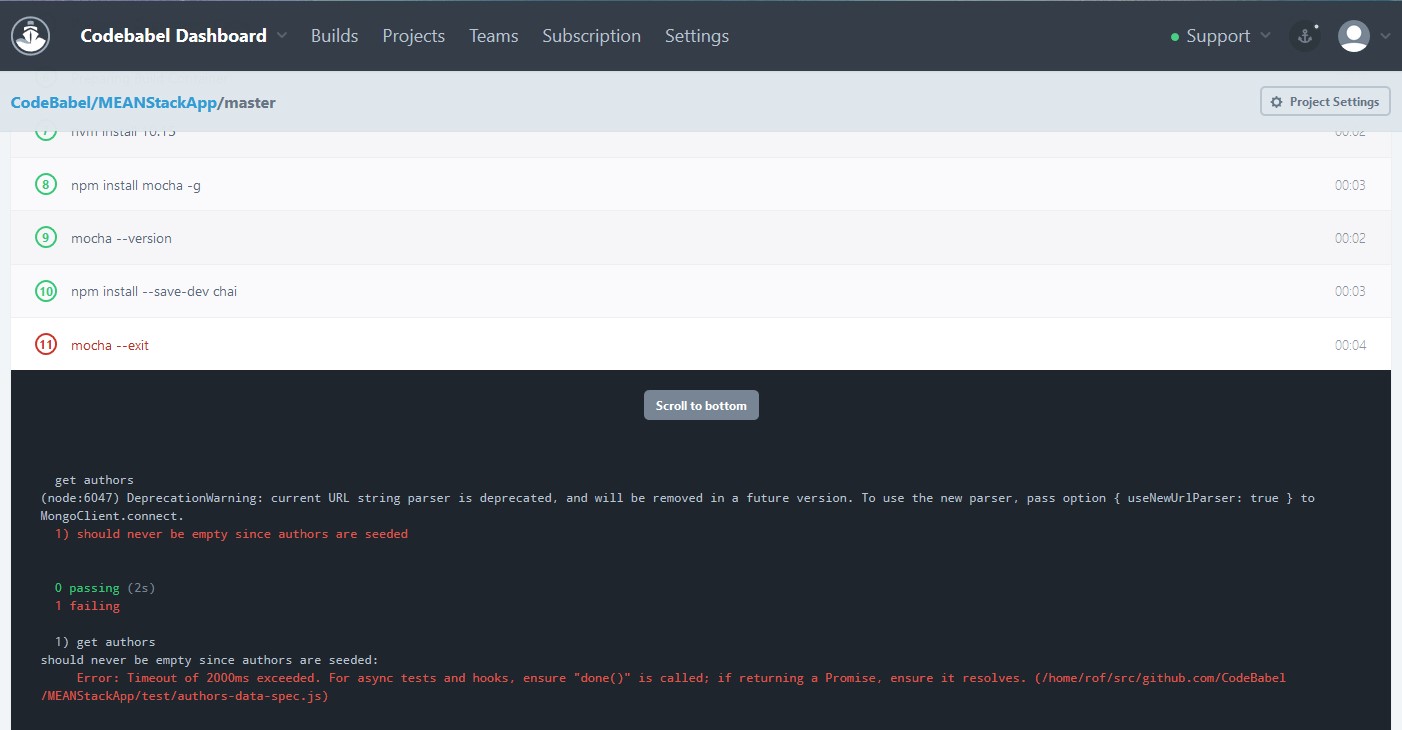
Now, let’s try to forcefully fail the build by failing the unit tests and see what will happen. In other words, we will try to break the working code to fail the build. Here, we are doing this by passing an incorrect connection string for MongoDB. We have done this change in the source code and committed the code back to GitHub. As a result, the Codeship will trigger the build automatically.

Because of this change, we can notice that the unit test is failing which has ultimately failed the build.
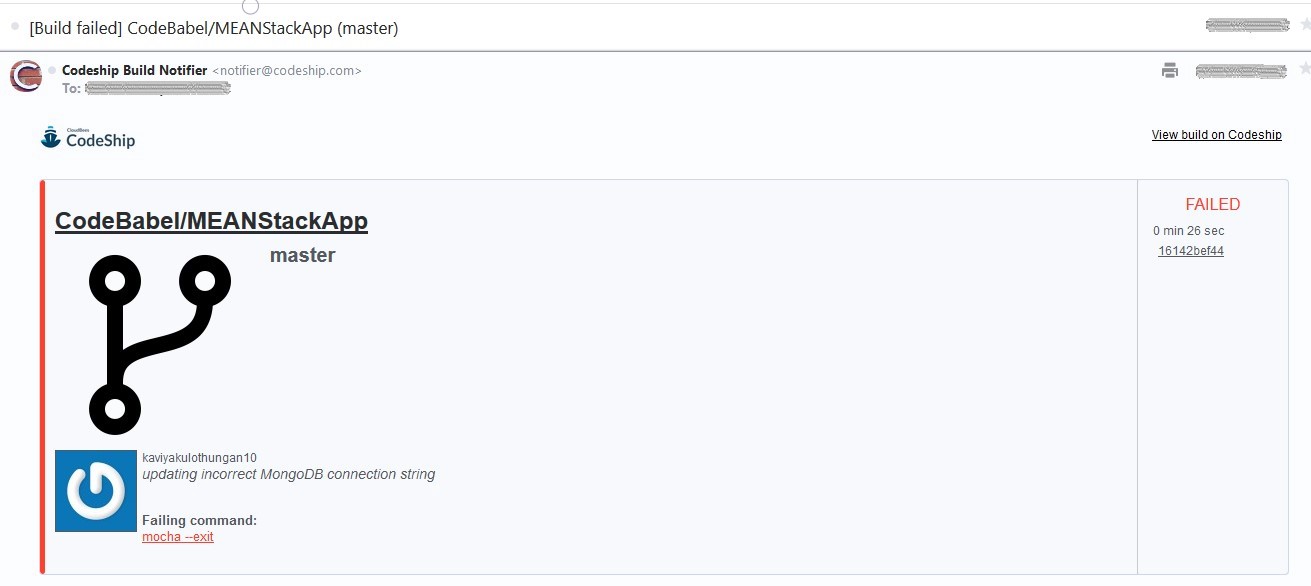
In addition, Codeship will send a build failure notification to the configured email address.
Deployment to Dev region
Since the project build is successful, let’s now focus on deploying this branch to dev region. For deployment, we will be using Heroku. We have created an application “codebabel-dashboard” in Heroku and we have connected that application to Codeship with the help of Heroku API key. The application name and API key will be added under “Deploy” section of Codeship. The configuration is shown below:
We will look in detail about Heroku in the next article where we will discuss the CD implementation for this MEANStack application.
Let’s do a dummy commit again in our source code. As a result, Codeship will automatically trigger the build, unit test and also Dev deployment.
As we can see from the above snippet, the build, unit test and deployment to Dev are successful. We can also see the application is up and running in Heroku when we hit the application URL from the browser.
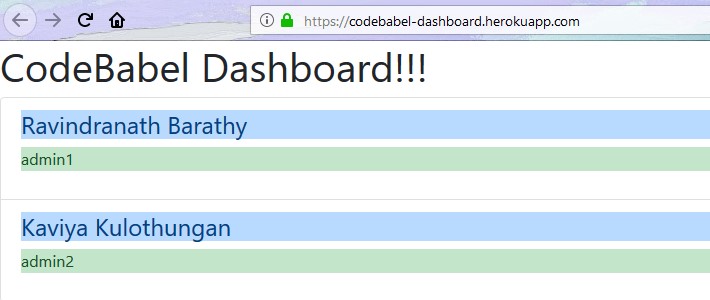
And there you go! We are live 🙂
Conclusion
We have reached the end of this article. Here, we have learned how to achieve Continuous Integration for a MEAN Stack application using Codeship. As previously mentioned, we will see how to achieve CD part for this MEAN Stack application in the next article.
Also, all the codebase used in this article is available here! Please share your thoughts, questions, and suggestions in the comment section below.
Please subscribe to our blog to stay up to date on any new articles. Also, feel free to share your feedback below!